How to enable or disable DNS client service?

- VPN


Contents
The Importance and Configuration of the DNS Client Service
Checking the Status of the DNS Client Service
Enabling or Disabling the DNS Client Service
The Importance and Configuration of the DNS Client Service
The DNS Client service is a background system service responsible for providing domain name system (DNS) resolution and caching functionality for computers. DNS is a technology that translates website domain names into corresponding IP addresses, enabling computers to communicate with websites. The DNS Client service stores resolved domain names and IP addresses in local cache to expedite future access and reduce the load on DNS servers.
If the DNS Client service is stopped or disabled , the computer will be unable to access the internet or domain network properly , as it won't be able to resolve any domain names. This can lead to various issues, such as inability to open web pages, send or receive emails, or use remote desktop services. Therefore, unless there are specific requirements, it's not recommended to disable the DNS Client service.
Similarly, MetroVPN's service also relies on the DNS Client service. If you disable the DNS Client service, it will also prevent MetroVPN from connecting properly. To ensure the normal operation of your computer and MetroVPN, always keep the DNS Client service enabled.
Checking the Status of the DNS Client Service
To check the status of the DNS Client service, you can follow these steps:
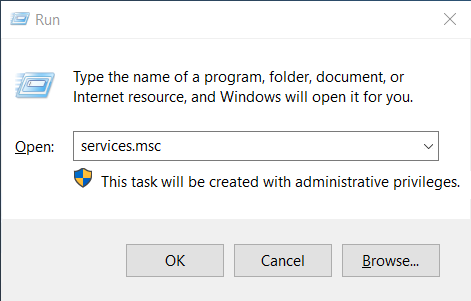
① Press Win+R keys.
② Enter services.msc and press Enter to open the Services Manager.
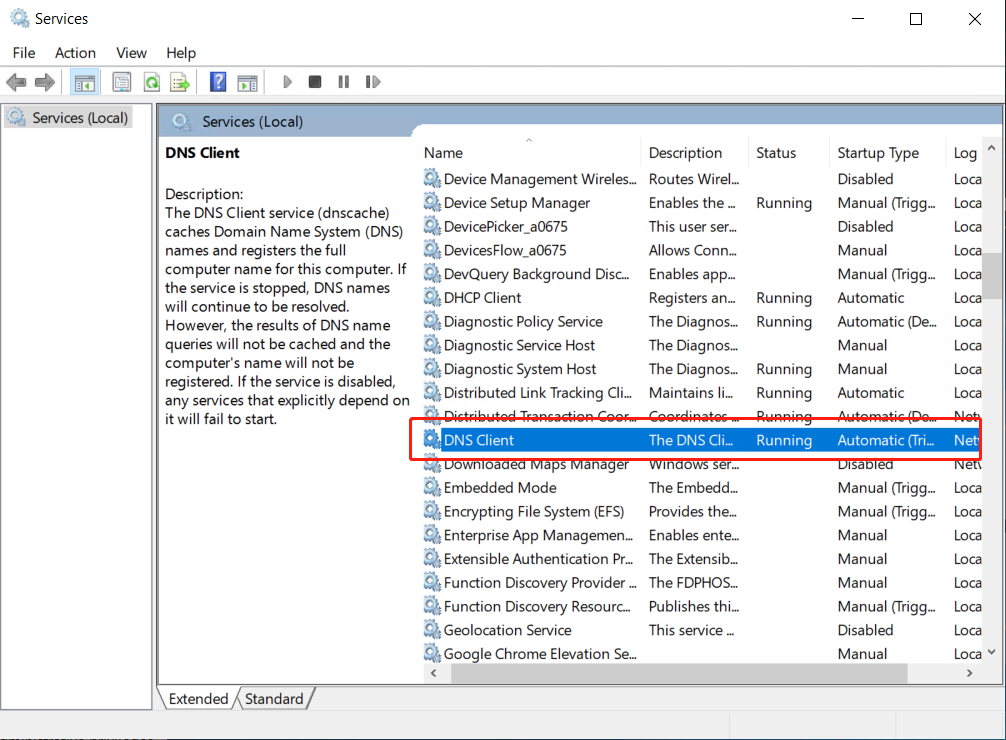
③ In the services list, locate the DNS Client service, double-click to open the Properties window.
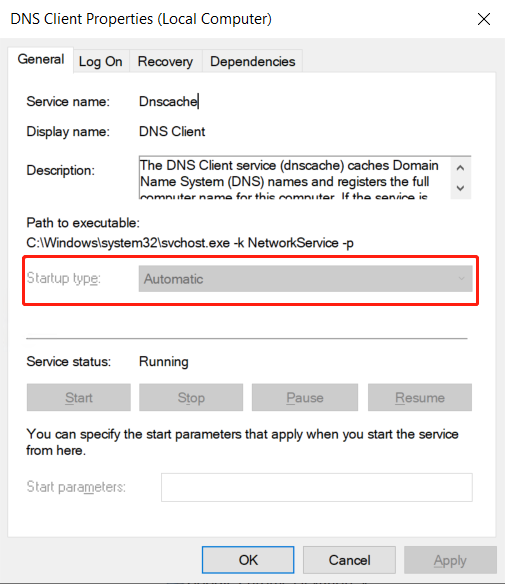
④ In the General tab, you can see the service status (running or stopped), startup type (automatic or manual), and startup account (Local System or other account).
Enabling or Disabling the DNS Client Service
To enable or disable the DNS Client service, you can use the command line. Here's how:
Open Command Prompt as an administrator and enter the following commands:
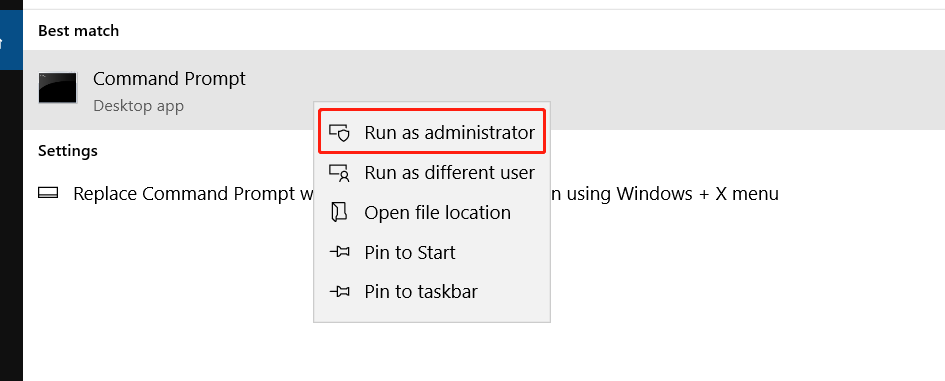
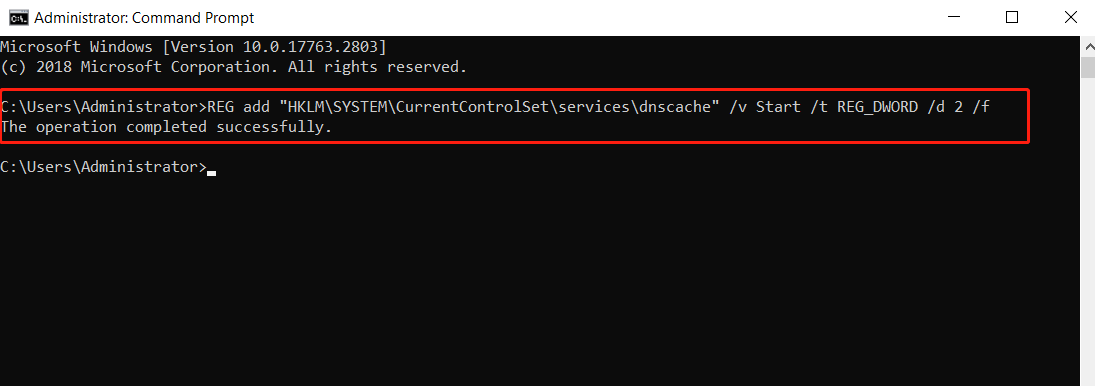
① Automatic
REG add "HKLM\SYSTEM\CurrentControlSet\services\dnscache" /v Start /t REG_DWORD /d 2 /f
② Manual
REG add "HKLM\SYSTEM\CurrentControlSet\services\dnscache" /v Start /t REG_DWORD /d 3 /f
③ Disable
REG add "HKLM\SYSTEM\CurrentControlSet\services\dnscache" /v Start /t REG_DWORD /d 4 /f
These are the specific steps for enabling or disabling the DNS Client service on a Windows system. Once the DNS Client service is set to automatic, you can enjoy the MetroVPN service seamlessly!


